
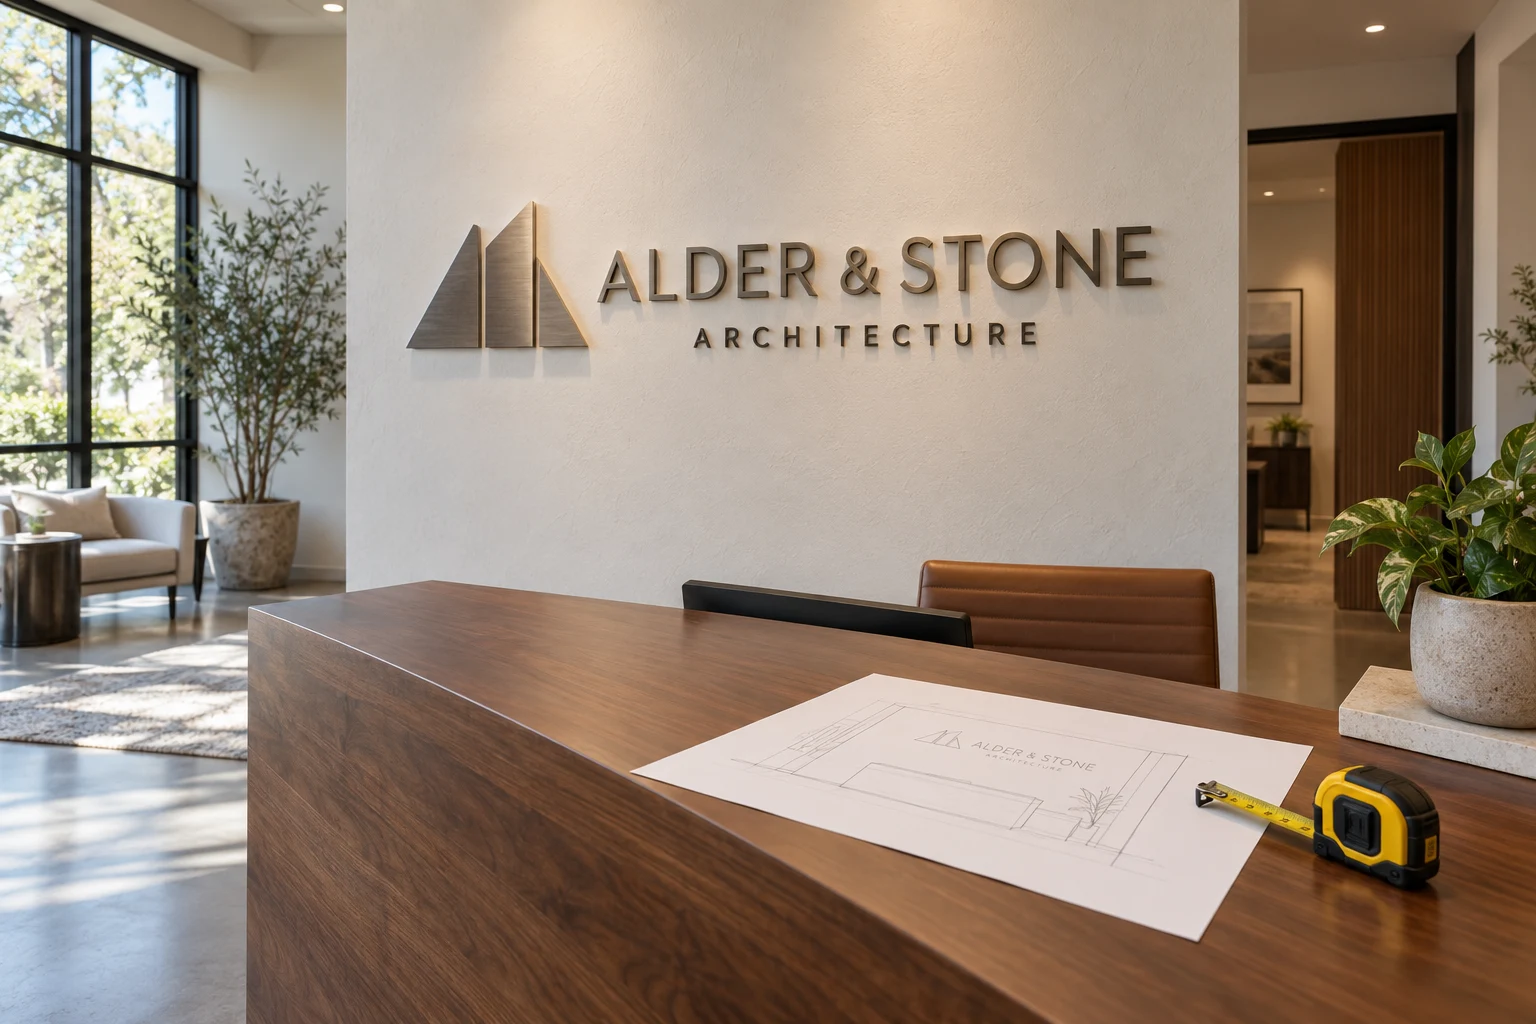
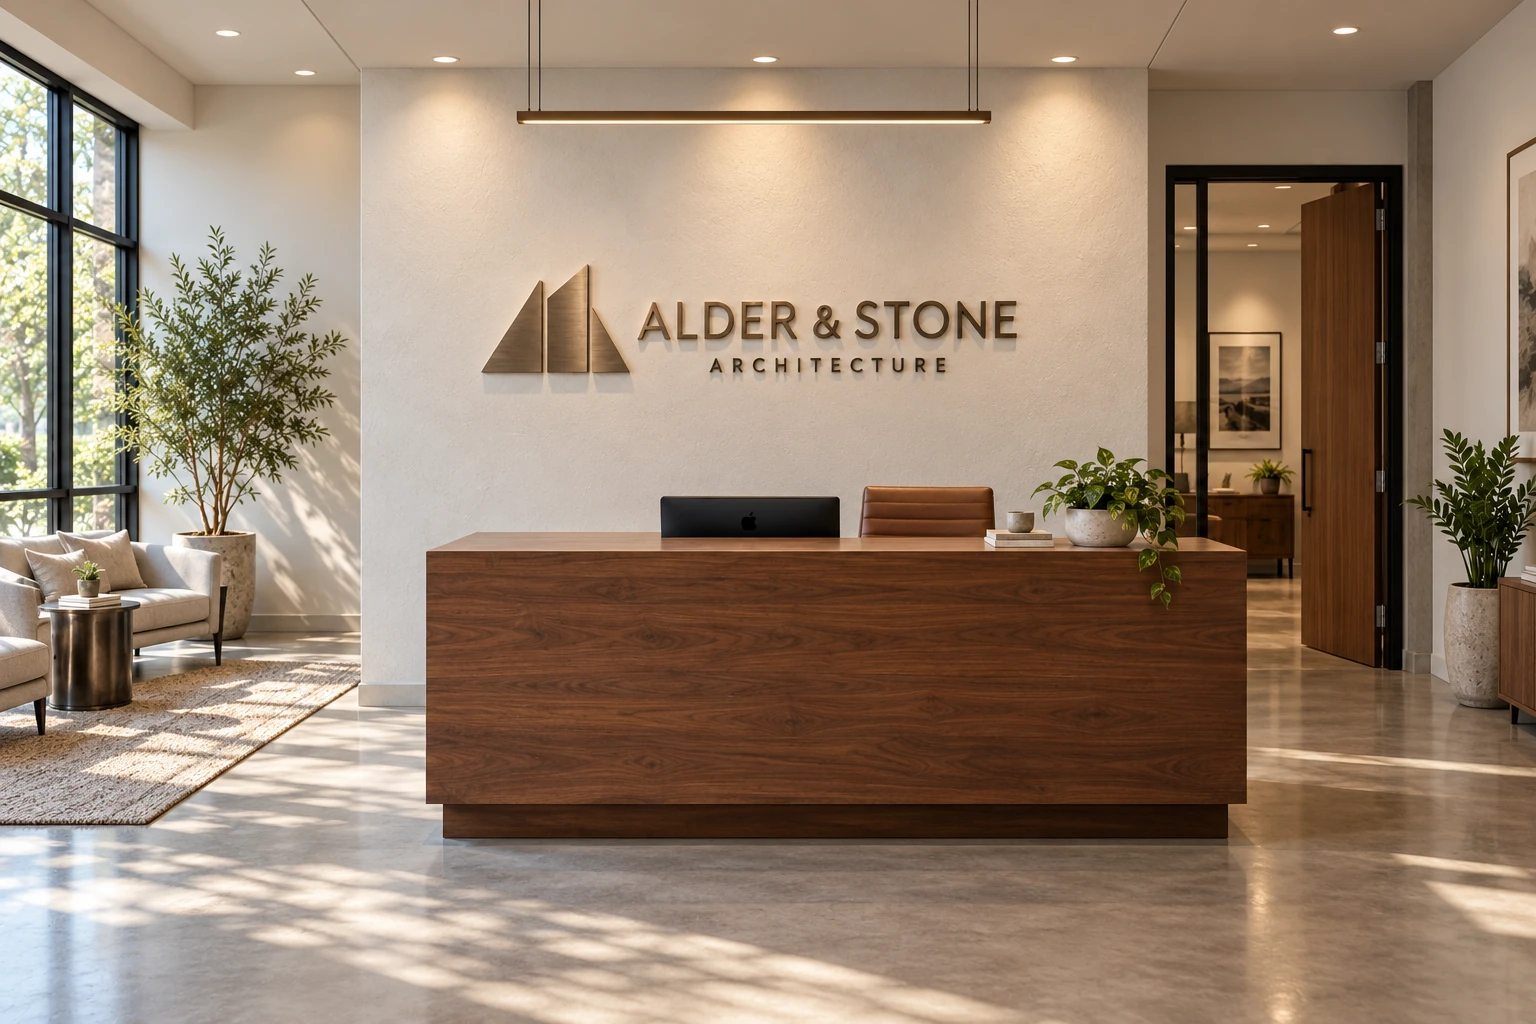
Before choosing the size or finish of a lobby sign, collect a clear record of the wall and the room around it. A close-up of an empty wall leaves important questions unanswered: How do visitors approach it? Will a reception desk cover part of the logo? Who needs to approve the installation?
A useful starting brief contains six inputs: a wide room photo, a straight-on wall photo, labeled dimensions, visitor viewpoints, surface details, and building responsibilities. You can gather most of this with a phone, a measuring tool you can use safely, and a short set of notes.
Treat these as planning information. Final dimensions, sign placement, wall suitability, and installation requirements still need project-specific review.
1. Take a wide photo that shows the room
Start far enough back to include the intended sign wall, its edges, the reception desk, and nearby doors or windows. Include the floor and ceiling where possible. This view gives the designer context that a tightly cropped wall photo cannot provide.
Leave normal furniture in place for at least one shot. A monitor, tall plant, or visitor chair may affect what people see. If the office is under construction, explain which visible items are temporary and attach the planned furniture layout if you have one.
Use the room's normal lighting. If daylight changes the wall substantially, add another photo at a different time and label both. Avoid filters that change wall colors or hide surface detail. Before sharing, check for visible customer records, computer screens, security information, or people who should not appear in the brief.
2. Photograph the wall straight on
Take a second photo facing the wall as squarely as the room allows. Keep the phone level and show the entire intended sign area. This becomes a clearer starting point for discussing alignment and a visual mockup.
If you can step back safely, try that before using an extreme wide-angle setting. Check that the wall edges look reasonably straight. If furniture prevents a centered photo, say so; send the best available view rather than stretching or reshaping the image to make it look square.
Keep the original photo. Make annotations on a copy so the designer can still inspect the unobstructed image. Label the wall consistently, such as “Reception wall A,” especially if you are considering more than one location.
3. Separate the full wall from the usable area
Record the wall's overall width and height, then identify the area you want the designer to consider. A wall may be large while the visually available space is much smaller because of furniture, trim, doors, artwork, or building equipment.
On a copy of the straight-on photo, add:
- Overall wall width and height, with units
- The left and right boundaries of the proposed design area
- The height of those boundaries above the finished floor
- Furniture dimensions that affect the composition, such as desk width and counter height
- The location of visible obstructions relative to a named wall edge or the floor
Write “144 inches wide,” rather than “144.” Keep one unit system throughout, or label every conversion. Show where each measurement begins and ends. A note saying “48 inches above the finished floor” is much more useful than an unlabeled arrow.
Measure only from a safe, accessible position. Mark inaccessible or uncertain dimensions as “approximate” or “to be verified.” Photos and familiar objects can help explain scale, but they should not substitute for a measured reference. A doorway is not a reliable ruler unless you have measured it.
The proposed area is a starting point for layout, not an approved sign size or confirmation that the wall can support it. Ask the sign provider which dimensions need an on-site check before production.
4. Show what arriving visitors actually see
Take a photo from the entrance, another from the usual approach to reception, and one from the waiting area if that view matters. Label each position and record the approximate distance to the sign wall when you can do so safely.
Explain the task the sign should serve at each point. At the entrance, a visitor may need to recognize the company name. At the desk, they may have more time to notice a symbol or secondary text. A tagline that looks clear in a close-up may be difficult to read from the doorway.
Look for objects crossing the view, reflections, shadows, and competing graphics. If the desk has not arrived yet, flag that uncertainty. Avoid choosing a finished sign width simply because it fills a fixed percentage of the wall. Titans' 3D logo signage guide identifies viewing distance, contrast, lettering, and lighting as design considerations; your photos help connect those choices to the actual room.
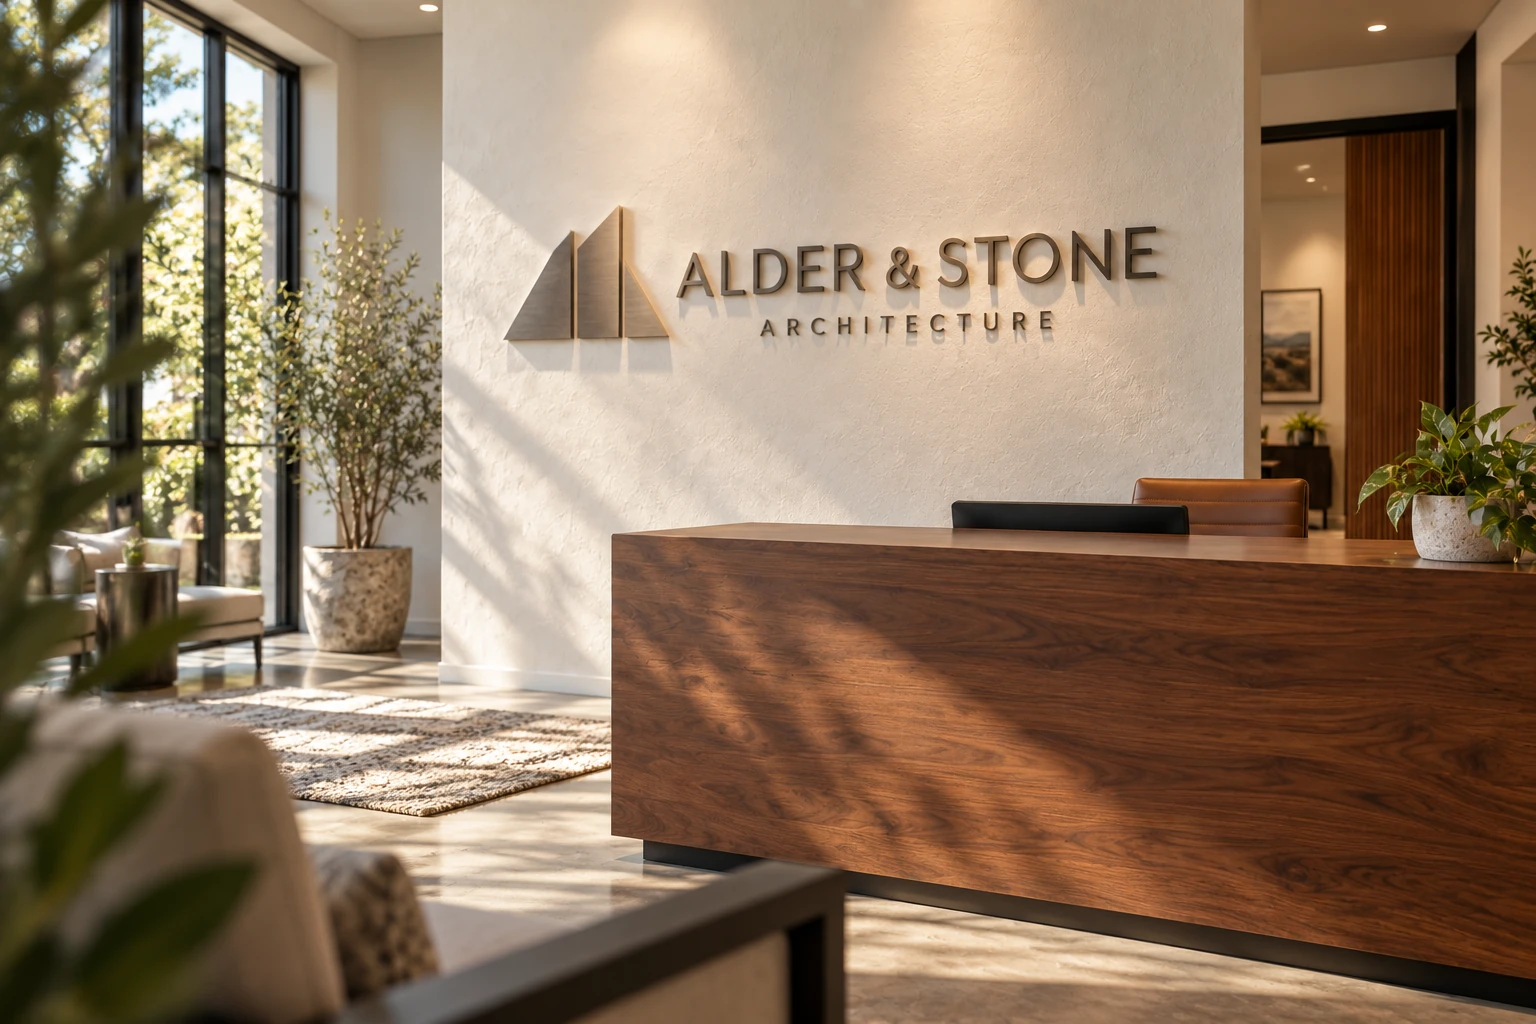
5. Record the surface and nearby obstructions
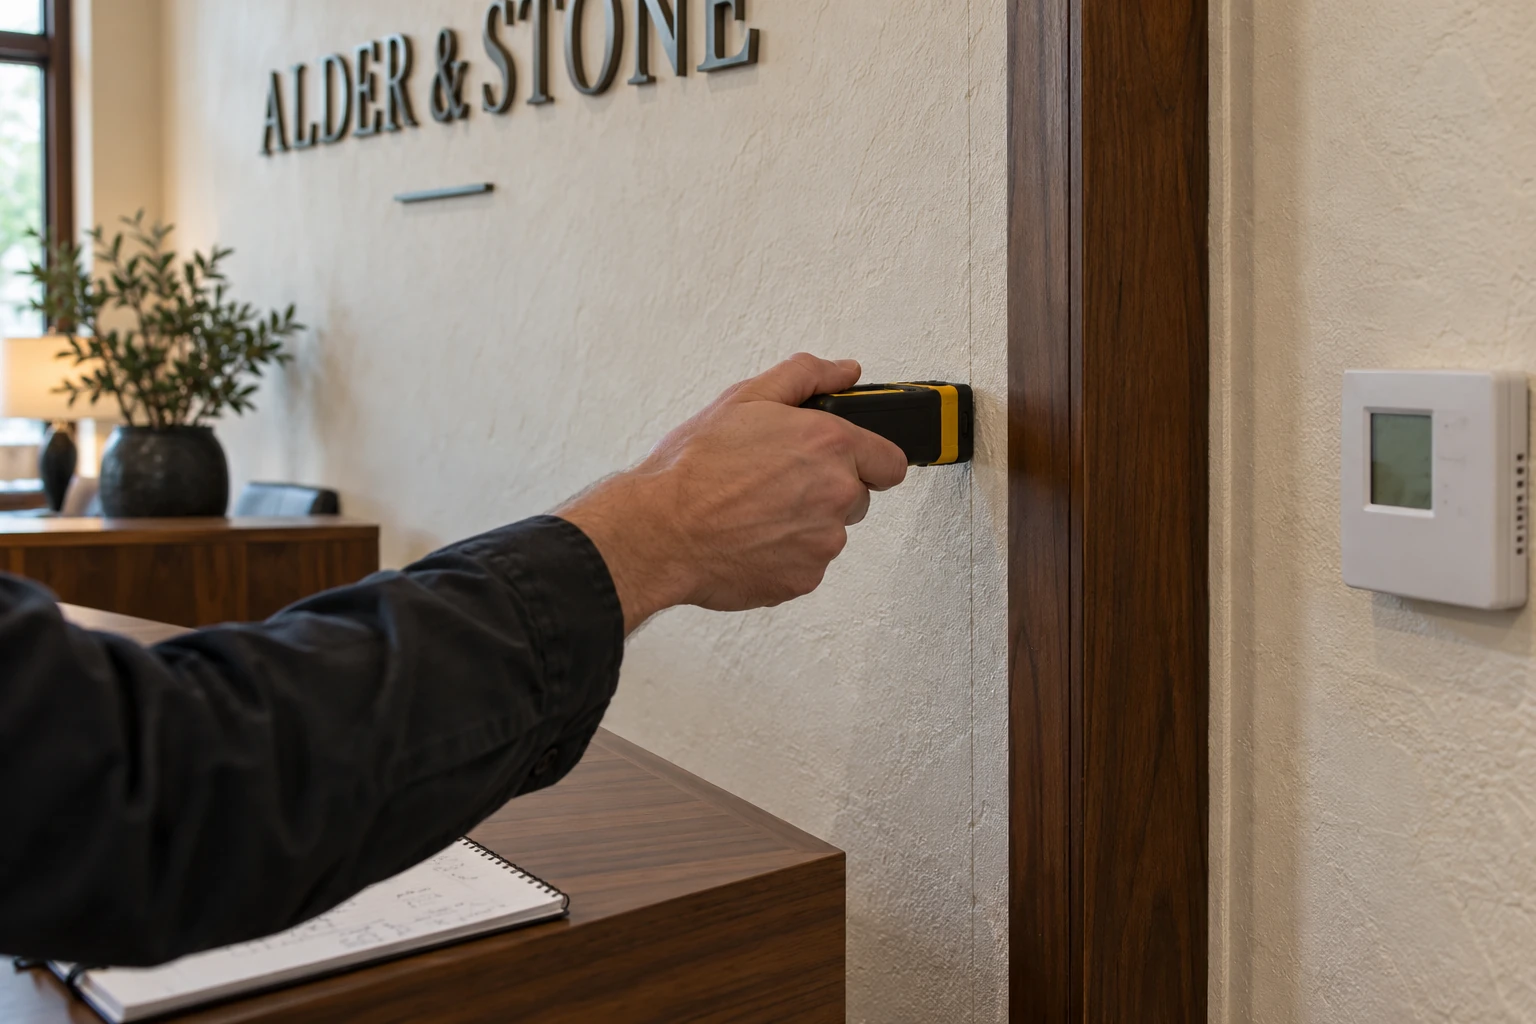
Add close-ups of the wall finish, visible seams, texture, damage, or existing sign marks. Note what you know: painted drywall, glass, tile, stone, wallcovering, or another finish. If you only know how it looks, write “surface material unconfirmed.” A photograph cannot establish what is behind the finish.
Include thermostats, switches, outlets, access panels, vents, and other fixtures in the record. Note their positions without assuming they can be moved or covered. Tell the designer about planned repainting, repairs, new wallcovering, or furniture changes.
These details give the installer questions to resolve. Leave anchor selection, drilling locations, load assessment, and electrical work to the appropriate qualified professionals. Do not remove covers, open the wall, or disturb building equipment to complete a design brief.
6. Name the people who control approvals and access
A useful brief says who can make decisions. Identify the person approving the artwork, the building or landlord contact, and the person coordinating site access. One person may hold several roles; make that explicit.
Ask the building contact about its review process, contractor documentation, delivery route, elevator booking, permitted work hours, and any restrictions on wall changes. Record confirmed requirements separately from questions still awaiting an answer. Include the desired opening date, but distinguish it from an agreed production or installation date.
If lighting is under consideration, identify who will review the electrical scope. Titans' installation service page states that Titans does not perform electrical work and that approvals are project-specific. Have the responsible professionals establish what the project requires rather than assuming an interior location settles every approval question.
A filled-in example
This fictional example shows how the information can fit together. It does not describe a Titans project or an approved installation.
“Reception wall A measures approximately 144 inches wide by 108 inches high. We would like to explore the area from 24 to 120 inches from the left wall edge and 48 to 84 inches above the finished floor. That gives a proposed design area 96 inches wide by 36 inches high.
“The existing desk is 72 inches wide, with a 42-inch-high counter. A thermostat is to the right of the proposed area. Photos show the full room, the wall straight on, views from the entrance and waiting chair, and the surface close up. The finish appears to be painted drywall; construction behind it is unconfirmed.
“Our office manager approves artwork and coordinates access. The property manager is checking wall-change rules and work hours. We prefer an unlit sign. All measurements and the final location need verification before production.”
Send one organized brief
Group the labeled photos, measurement sketch, and responsibility notes in one folder. Add the best available logo file, any brand color references, and your preferred finish if you have one. State the project location and desired date, and list unresolved questions openly.
The goal is to give the designer enough context to propose a sign that belongs in the room, while making the remaining checks easy to identify.
If you are still deciding what the sign should communicate, our guide to lobby signs and first impressions covers the branding side of that decision.
Images: AI-generated planning concepts for a fictional business, not a completed customer installation.