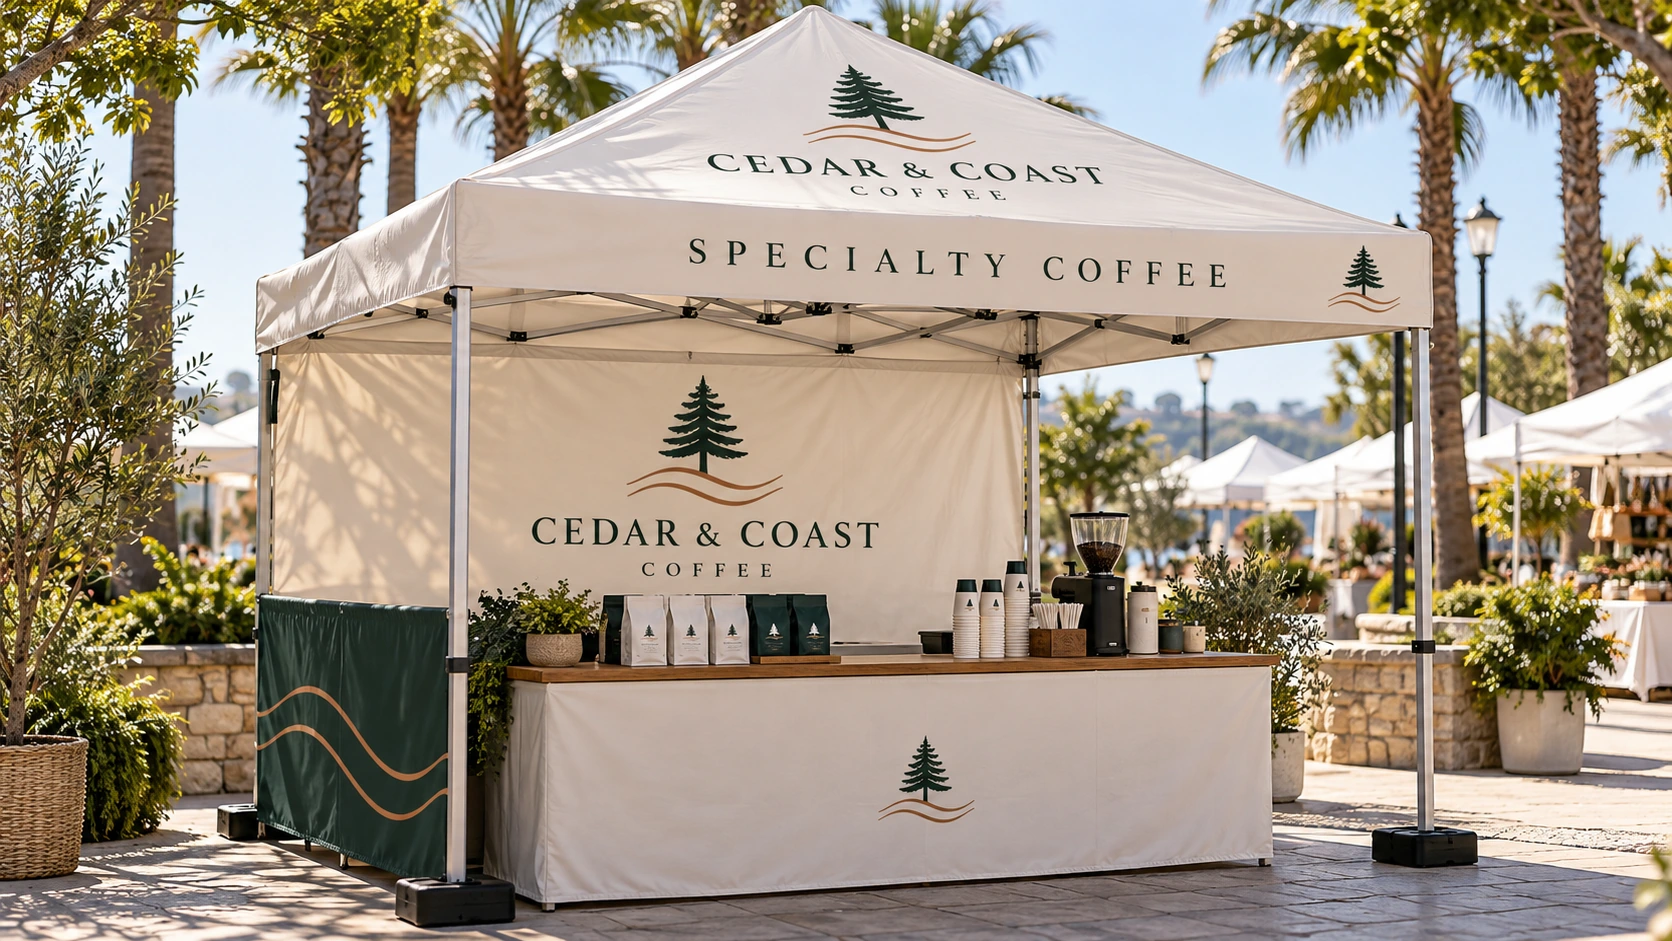
A custom canopy tent has several places to print, but each one is seen in a different way. Someone across an event lawn may notice the roof. A visitor walking past your booth may read the valance. A person who stops can spend more time with the wall graphics.
The most useful custom canopy tent artwork gives each surface a clear job. Start with the message people need at each stage, then build the layout around your exact tent and event setup.
Give each tent surface one main job
For a simple starting plan, use the roof for recognition, the valance for a short description, and the walls for the closer conversation. You can repeat the logo where it helps people recognize the booth, but every panel does not need the same block of information.
Titans of Print offers custom canopy tops, valances, and wall graphics. Back walls and sidewalls are options to confirm for your order. Decide which pieces you need before your designer lays out artwork for them.
Roof panels: help people recognize the brand
The roof is the large sloped area above the booth. It is a good place for a bold logo or a short brand name with strong contrast. Think about a visitor looking across other booths rather than studying a flat design on a screen.
Keep the main mark large and give it space. A long tagline, full service list, and tiny web address can compete with the logo without helping someone find you. If the logo contains fine lines or small lettering, ask your designer whether a simpler approved version would read more clearly.
Plan for more than the front view
Look at the event layout. Visitors may approach from the side or behind the tent. Decide which roof panels need branding, then review each panel from its intended viewing direction. Do not assume one flat logo placement will read correctly on every face.
Valances: explain what you do in a few words
The valance is the narrow band that hangs below the roof edge. It can carry a short description, a memorable web address, or a simple invitation. Choose the detail that helps a passing visitor understand the booth quickly.
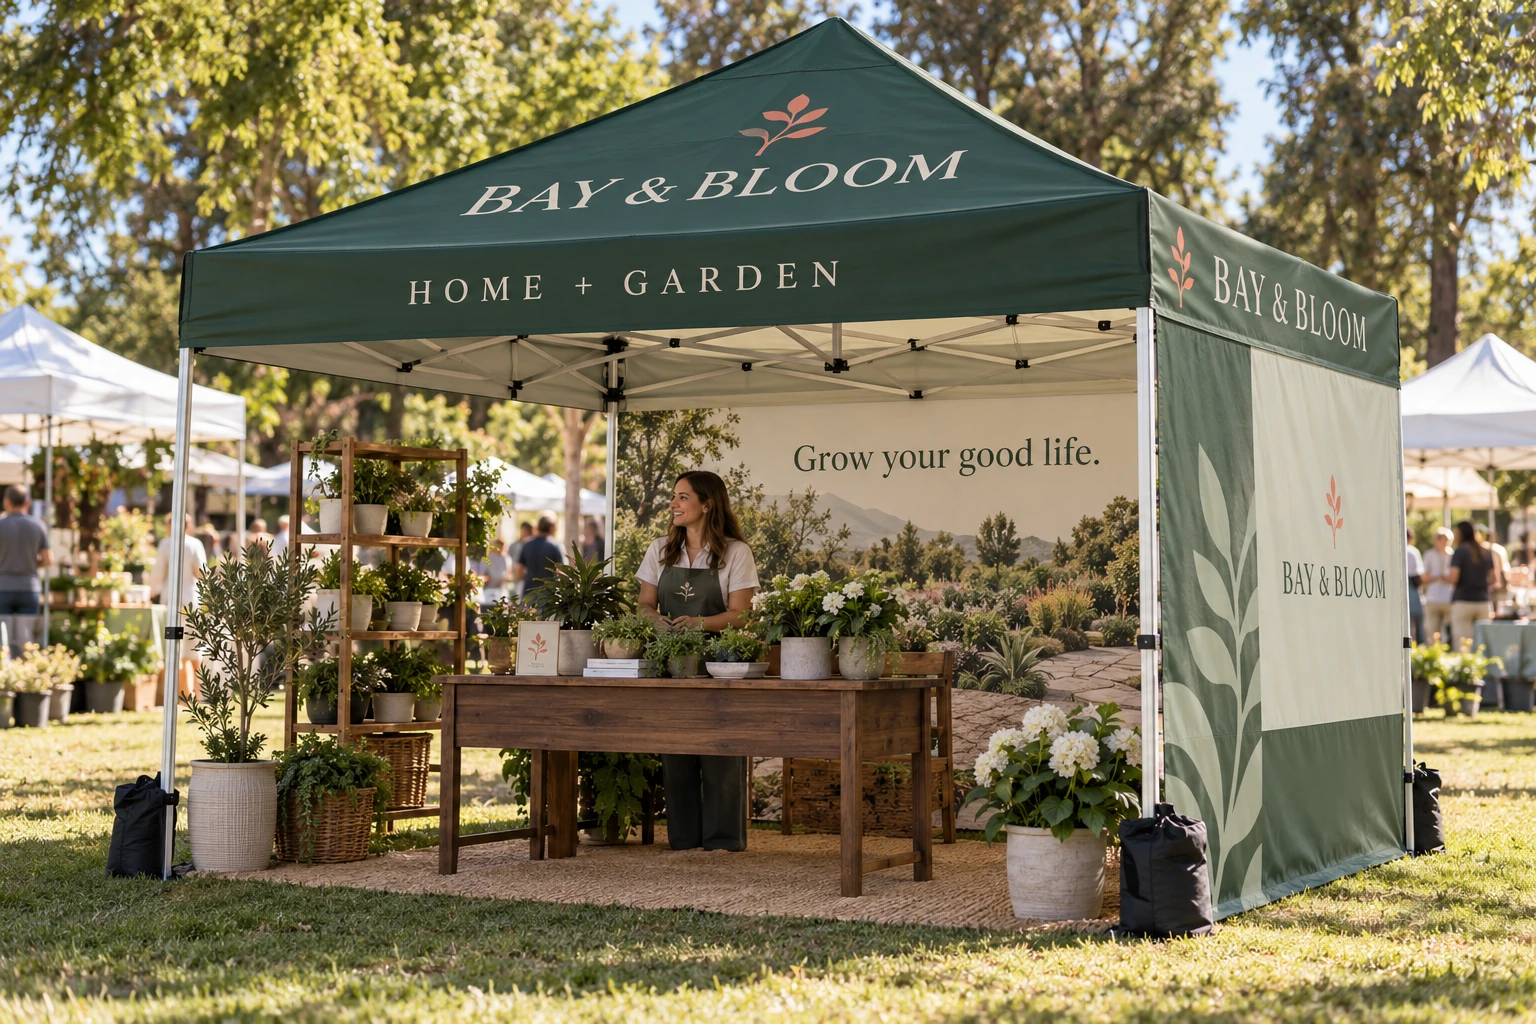
For example, our fictional Bay & Bloom brand could use “HOME + GARDEN” on the front valance. That gives the name useful context without asking people to read a sentence overhead.
Review each visible side separately. The front might explain the business, while a side repeats the name for people coming down another aisle. Keep the lettering clear of seams and edges according to the selected product’s template.
Walls: support the conversation inside the booth
A back wall gives you room for a headline, a strong image, or a short service message. Place the most important content where visitors can see it above the table, products, and people. An attractive design loses its purpose if the key line sits behind a row of display boxes.
Plan the wall with the real booth contents in mind. Mark the table position and height on a mockup. Add rough shapes for shelves, screens, and staff. This simple step can reveal a blocked message before the artwork is approved.
Choose the sidewall height and print direction
First confirm which sidewall heights are available for your selected tent. A full sidewall and a half sidewall create different layouts. A full wall gives more graphic space but can close off an approach. A halfwall can define the booth while leaving more of the interior visible. Choose the arrangement around how visitors will enter and interact.
Also confirm whether a wall is printed on the inside, outside, or both. Label those views clearly in the proof. A design approved from the wrong viewing side can put your message where the intended audience will not see it.
If you include a QR code, put it where a visitor can comfortably stop and scan it. Avoid making a high roof panel the only way to reach the link. Provide a readable web address or another clear next step as well.
Build the artwork on the exact product template
Ask for the template that matches the selected tent size and wall configuration. Do not treat a generic tent outline as a production file. Panels, seams, attachments, and printable areas can differ between products.
Give your designer the original logo artwork when available, approved colors, final wording, and any photos at their original quality. Ask them to check the template’s required file scale, image resolution, color setup, bleed, and safe areas before export.
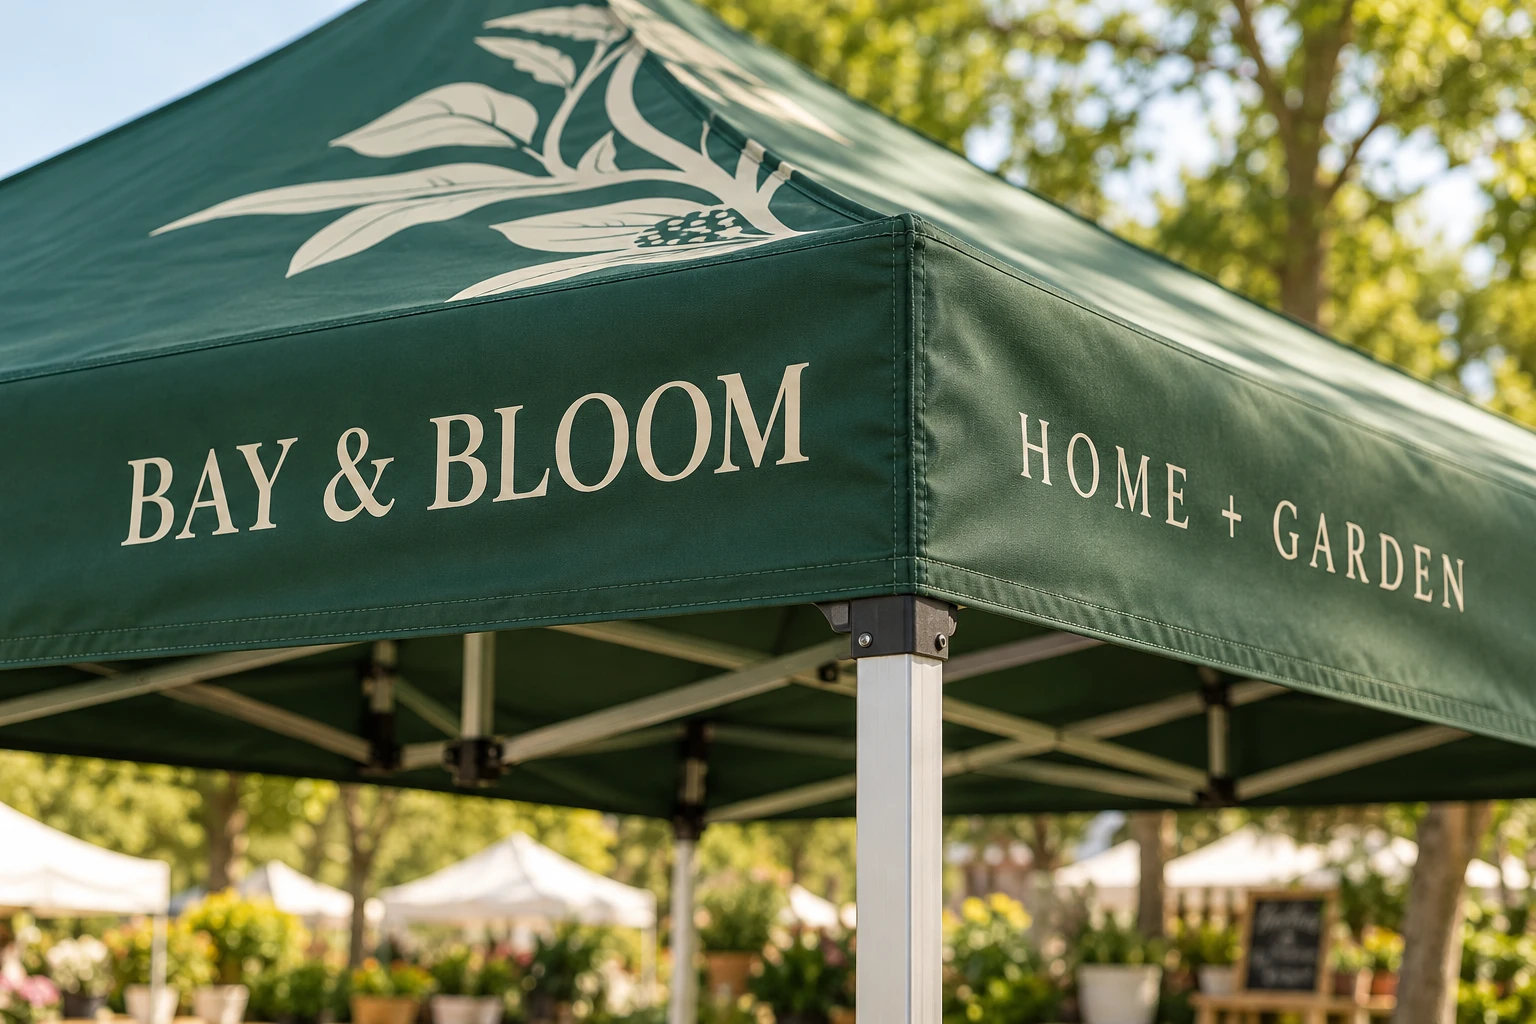
Keep essential words and logos away from marked seams and panel joins. Treat any continuous image crossing several pieces as something to review carefully in the assembled mockup. The flat artwork and the assembled tent should both make sense.
Use this final canopy artwork checklist
- Configuration: Correct tent size, wall pieces, and included hardware are listed.
- Panel map: Front, back, left, and right views are clearly identified.
- Reading direction: Logos and text are upright in the assembled views.
- Visibility: Main messages remain visible around tables, products, and staff.
- Artwork: The current logo, final wording, and correct print sides are confirmed.
- Handoff: One final proof version, approver, and needed-in-hand date are recorded.
For a coordinated setup, choose the main tent message first, then support it with the other printed pieces. Our event promotional-printing guide can help you think through those supporting materials.
Ready to plan your artwork? Use the Titans of Print canopy tent service page to share your event date, tent size, desired walls, logo files, and booth layout. Ask for the matching template and a digital mockup so you can review the whole setup before approving production.
Images include AI-generated concepts for fictional businesses, not completed customer projects.
